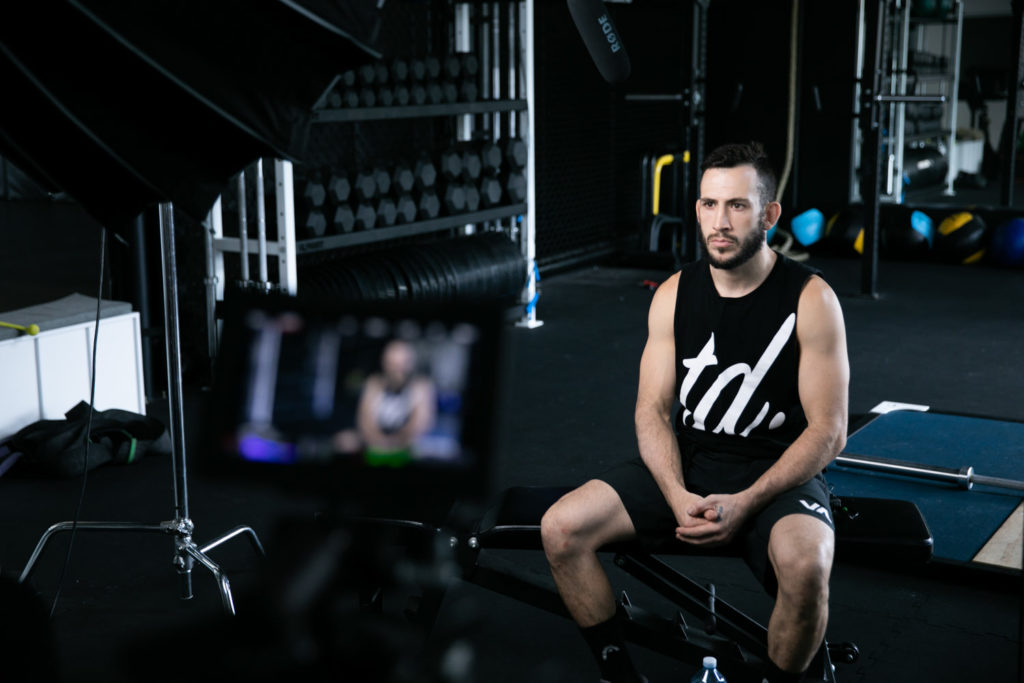
Now more than ever, video content has become vital to the growth and success of a business. We’ve had a blast learning and evolving over the years to deliver amazing content for our clients. Here are our top five tips to improve your videos. Whether you’re shooting on a smartphone or a DSLR, you’ll see immediate results.
1. Microphone
A microphone is one of the best investments you can make. There are two options available; a shotgun microphone or a lapel microphone. Depending on the nature of your presentation, both options will significantly amplify the quality of your videos.
A shotgun microphone is a direction microphone that will capture whatever source of sound it’s pointed at. This microphone will often give a more natural sound by capturing ambience sounds. Along with that, it doesn’t interfere with the appearance of the host.
A lapel microphone, also called lavalier or tie-clip mics, are discreet microphones that attach to your clothing. A lapel microphone is great for people who need their hands free. They also help alleviate the nervous feeling of being recorded that might present when the microphone is insight. The lapel microphone is also great for clearly capturing only the host’s voice.
Here’s our favourite basic shotgun microphone and lapel microphone.
2. Tripod
The first and most obvious benefit with using a tripod is you can do your filming yourself. Set it up, frame your shot, press record and off you go.
There’s nothing worse than trying to watch a detailed instructional video and suddenly there’s jerky movement from the camera operator. A tripod will essentially remove all shakiness and improve the overall viewer experience.
3. Take your time
Don’t rush your videos! Take time to shoot it. We know how nervewrecking it can be to stand in front of a camera. You suddenly get stage fright and forget your lines! Take your time, breathe, practice your script, and off you go. Just like any study material, programming, procedure – plan out your content and practice.
Tip: Between takes remember to give yourself a couple of seconds before starting again.
4. Attention to detail
You’ve finished a take! So what’s next? Review it right there. Check the little details. We often experience inconveniences that can make or break a video. Some of the things we notice are:
- Hair position
- Clothing placement
- Microphone placement
- Awkward poses and movements
- Out of focus shots
There’s nothing wrong with reshooting. Identify the problem and redo it.
5. Keep it simple and engaging
We all have creative ideas, but remember what you’re trying to do! The bigger the idea, the bigger the budget (in some cases). In our experience, keeping it simple means that you can make your content more engaging.
Consider the length of your content. Is it something people can understand and watch in 30 seconds, or does it need to be a ten-minute video? We totally hate watching a tutorial that’s 10 minutes when the segment we need is only 30 seconds. Flash transitions are great for an ad, but in an instructional video, simple is king!
Bonus tip!
Fact: 85% of people on Facebook watch videos on mute. However, consider your audience including language or disability barriers. Your audience might engage better with subtitles because the primary language used isn’t their first language. You might have audiences with hearing disabilities. Not having subtitles will definitely disengage them from your content.
Need further help with your video content? Hit us up and we’ll be more than happy to arrange a consult.


